How to Make a Paper Box Craft
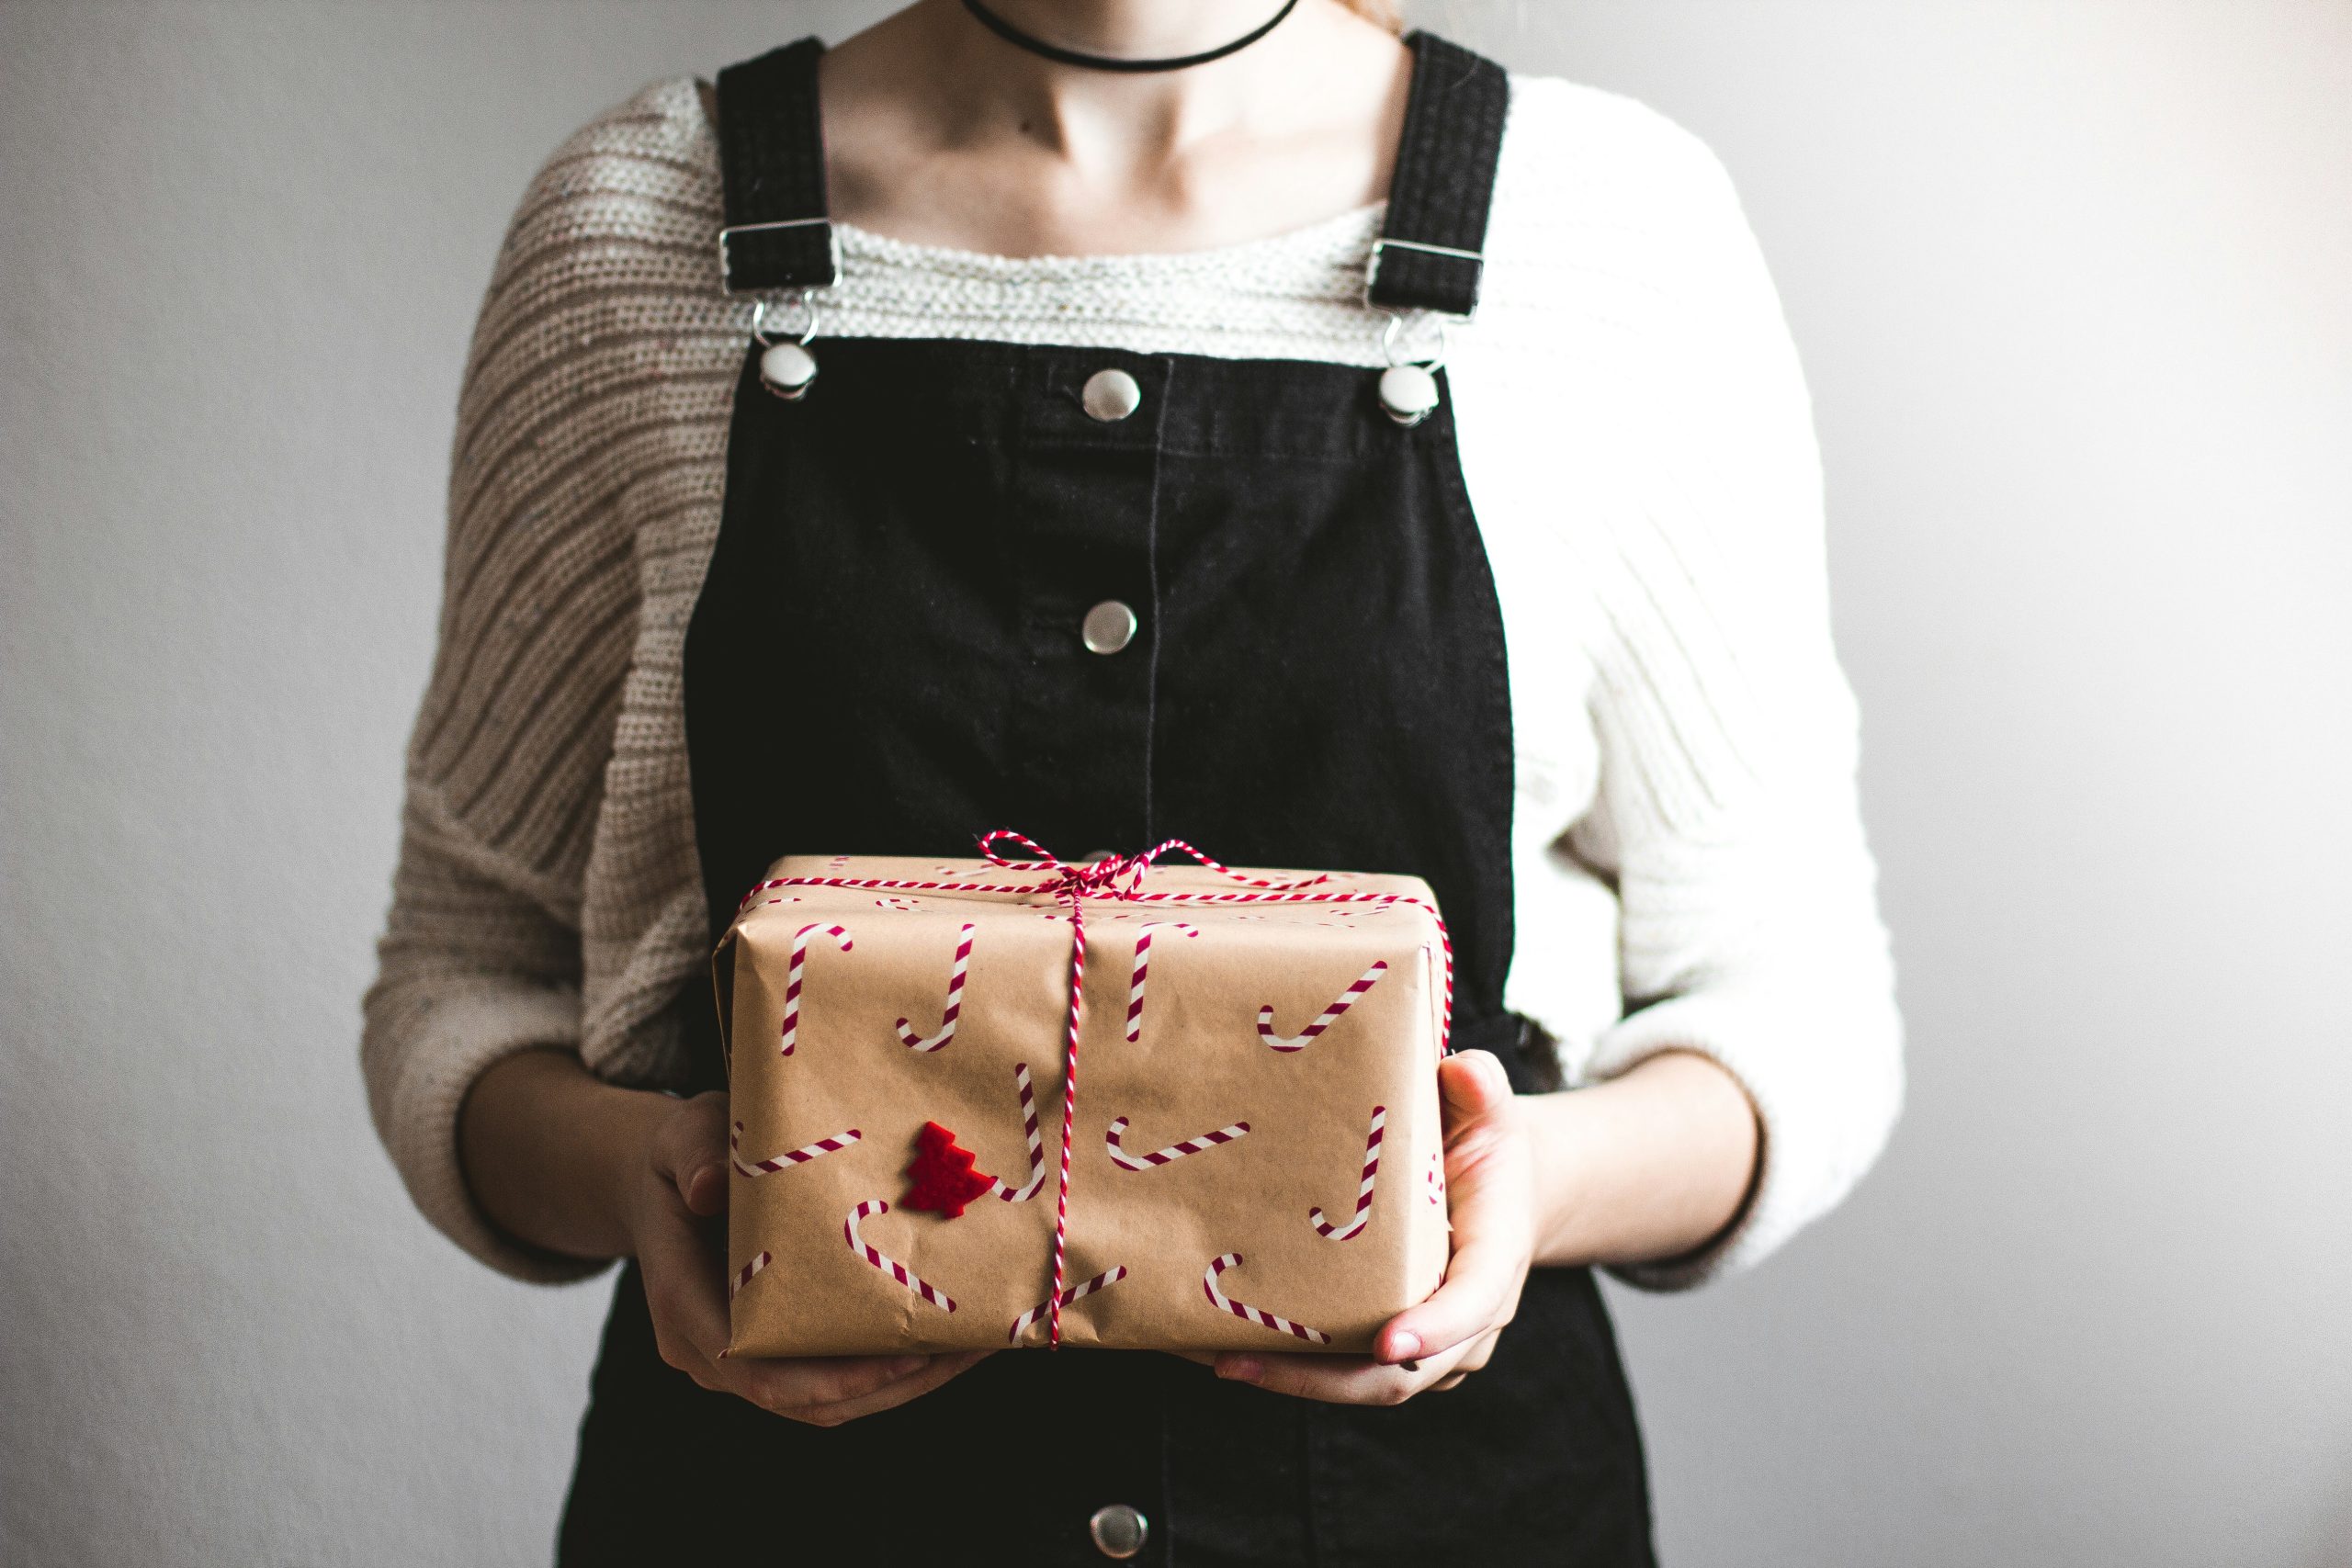
Paper box craft can be a fun and rewarding hobby. These functional pieces of art can be used to store trinkets, serve as gift boxes, and decorate your space. They also make great gifts for friends and family.
Start with a square piece of paper. Fold the top and bottom edges to meet. Then, fold each corner so that they form right triangles with their bases flush with the lengthwise crease.
Folding
Paper boxes are easy, environmental friendly crafts that make good gifts, trays, and storage containers. They also provide a fun way to use up old flyers and other discarded paper. If you’re planning to give a gift in a paper box, it’s best to decorate it before you fold it. This will prevent the paper from collapsing while you’re trying to open it.
Start by placing the square of paper on your work surface with its wrong side facing up. If you’re going to use stamps or other artwork on the box, do this before you start folding. If you’re using a template, make sure that the cuts are indicated in the middle of the paper.
Next, fold one of the long edges to a point in the middle, lining up the crease with the lengthwise creases. Repeat color mailer boxes this on the other edge. Once you’ve done this, fold the remaining corners inward to meet each other, forming triangles with their bases flush with the lengthwise creases. The result should look like an uneven octagon.
Now, fold the top edges into the center and up to meet the points you just tucked in. Repeat this on the other side of the box. Now you’re ready to put something in your cute little box! Just remember to keep it light; a heavy item could cause the paper to collapse.
Gluing
Once you have finished forming the box, glue it together. You can use a standard water-based PVA glue or a spray adhesive. If you choose the latter, make sure that it is specifically formulated for paper and cardboard. If not, it may wrinkle. To help prevent wrinkling, use a glue that is thinned with water.
After applying the glue, let it dry completely. This will take a few minutes. If you want to speed up the drying process, consider using a heat gun. However, be careful not to burn the paper or the glue will melt.
When the glue is dried, fold the curved edges inward to complete the box. If you’d like, you can also add a strip of pretty washi tape for additional decoration.
To finish a paper box, you can use it to hold a gift or for storage. Alternatively, you can fill it with treats and give it as a party favor. It’s a fun way to give a small gift without spending money on expensive wrapping paper.
To make a simple box from paper, start by making a square sheet of cardstock or construction paper. Fold the square in half, long edge to long edge. Align the corners and edges of each side and crease well. Repeat this step to form the other three sides of your box.
Trimming
A paper box is a handy, easy-to-build craft that makes great gifts and trays. It’s also a good way to recycle flyers and discarded paper. To start, find a square sheet of paper, and fold it in half diagonally. This creates the side flaps of the box. The flaps should be trimmed so that they’re even with the edges of the box. You can do this with a pair of scissors or a box cutter.
To trim the paper, first bring two opposite corners in to meet in the middle and make a neat crease. Next, unfold the paper partially and rotate it. Repeat the first two steps on the other shorter edge of the paper. This should create a square made of triangles with the bases of each triangle flush with a lengthwise crease.
Now, cut on that folded line ONLY up to the corner where you snipped. Then, turn down the tips of the little flaps that were paper box craft snipped. Finally, fold creases in the little side flaps on all four sides of your box.
Finishing
To finish your paper box craft, make sure that all the creases are neat. You can use a bone folder to help you get the creases nice and sharp. This way, the finished box will stand upright and be able to hold its contents. You can also decorate the inside of the box to suit the occasion or your gift.
Once you’ve mastered the basics of paper folding, you can start to experiment with different shapes and designs. For example, you can fold the corners of a standard pillow box to create a small, circular container that’s perfect for gifts or party favors. You can even adorn the outside with rubber stamps or other embellishments to customize your creation.
If you want to give a unique touch to your box, consider using a glossy laminate. This post-printing process gives your boxes a high-shine finish and makes the colors pop. It can also be combined with debossing and hot foil stamping to create a three-dimensional effect on the surface. It’s a great option for custom packaging that will impress your customers and help you stand out from the competition. The gloss laminate is also a good choice for boxes that will be exposed to moisture and other environmental factors. It protects the paperboard from damage, making it more durable and resistant to stains and abrasions.